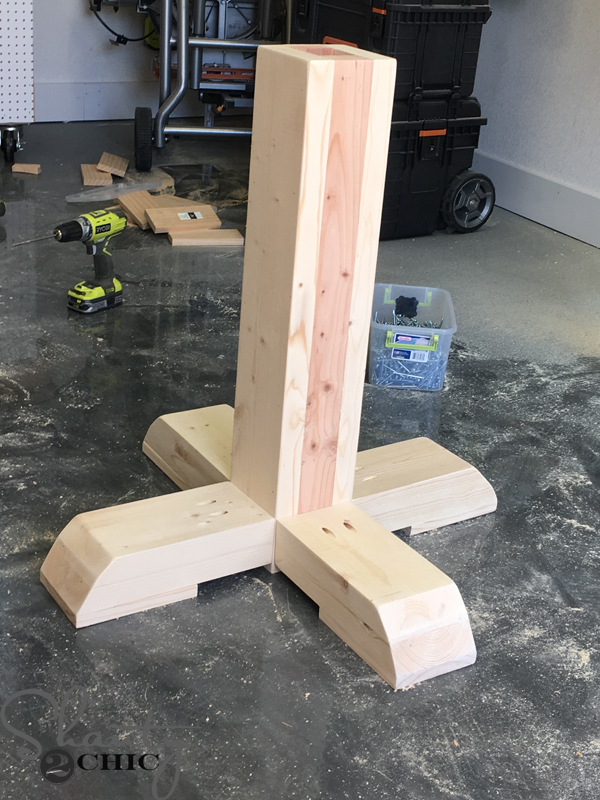
how to make table base Pin on work shop
I recently came across some stunning images that have inspired me to try my hand at some DIY projects. The first image that caught my attention was a beautiful X-Brace Concrete Side Table. The second image is a pin that features a lovely desk. Let me tell you more about these inspiring projects!
X-Brace Concrete Side Table
This concrete side table is an absolute showstopper. The X-brace design adds a modern and stylish touch, making it a perfect addition to any living space. Plus, you won't believe how simple it is to build!

To start this project, you will need the following ingredients:
- Concrete mix
- Wooden boards
- Screws
- Drill
- Sandpaper
- Sealer
The first step is to prepare the concrete mix according to the instructions. Once that is done, pour the mix into a mold in the shape and size you desire for your side table. Make sure to place the wooden boards in an X pattern at the base of the mold to create the X-brace design. Allow the concrete to set completely, following the recommended drying time.
Once the concrete has hardened, carefully remove it from the mold. Use sandpaper to smoothen any rough edges. Next, attach the wooden boards to the concrete top using screws and a drill. This will ensure that the X-brace design is securely in place.
Finally, apply a coat of sealer to protect and enhance the appearance of the concrete. Your X-Brace Concrete Side Table is now ready to be showcased in your home!
Hannah's Desk
The second image that caught my eye showcases a beautiful desk that would be perfect for a home office or study space. The design is elegant and has a timeless appeal.

To recreate this desk, you will need the following ingredients:
- Wooden boards
- Table legs
- Screws
- Drill
- Sander
- Wood stain or paint
Start by assembling the wooden boards to create the desk's surface. Use screws and a drill to secure them in place. Next, attach the table legs to the underside of the desk using screws.
Once the structure of the desk is complete, use a sander to smoothen any uneven surfaces. This will give the desk a polished and professional look. After sanding, you can choose to stain or paint the wood to match your personal style and existing decor.
Allow the stain or paint to dry completely before using the desk. You now have a stunning and functional piece of furniture for your home office or study space!
These DIY projects offer unique and personalized furniture options for your home. Whether you choose to build the X-Brace Concrete Side Table or recreate Hannah's Desk, you'll enjoy the satisfaction of creating something beautiful with your own hands.
If you are searching about Remodelaholic | Build It: X-Brace Concrete Side Table you've visit to the right page. We have 5 Pictures about Remodelaholic | Build It: X-Brace Concrete Side Table like wood table base diy ~ Easy Schwartz, Pin on Work shop and also Remodelaholic | Build It: X-Brace Concrete Side Table. Here it is:
Remodelaholic | Build It: X-Brace Concrete Side Table
 www.remodelaholic.com
 brace plans remodelaholic pedestal stain
Made A Table Base Out Of Reclaimed Mahogany And Maple.. Yup I Painted
 www.pinterest.com
 mahogany yup
Wood Table Base Diy ~ Easy Schwartz
 myschwartz.blogspot.com
 Pin On Work Shop
 www.pinterest.se
 table base wood legs furniture projects farmhouse woodworking curved diy bases board making plans rustic timber tables wooden choose akamaihd
Pin On Hannah Desk
 www.pinterest.com
 table simple base visit
Pin on work shop. Made a table base out of reclaimed mahogany and maple.. yup i painted. Mahogany yup
Comments
Post a Comment